The 5 Types of People you Should be Contacting when Marketing Yourself as a VO Talent

by The Voice-Over Roadmap
As a VO Talent and Self-Marketer, you may know the types of places you should be reaching out to in hopes of landing work (Video Production Companies, Animation Studios, E-Learning Companies, etc…) But do you know who the best people are to contact at these companies?

Sometimes you may find a number of contacts listed on the website for a potential lead, and you don’t want to send a mass email to a bunch of people at the company all at once, but you also want to be sure you make contact with the person most likely to hire you for a gig.

In this post, let’s take a look at the 5 types of people you should be looking to contact when marketing yourself as a VO Talent, in order of likeliness to be the person handling voice-over at the company, and thus, the best one to contact.

1. CASTING DIRECTOR

Many of the production companies and other leads you contact won’t have someone with this title – in fact, most probably won’t. But when you do come across leads in your marketing efforts that have a Casting Director on board, that is the person you want to contact.

This typically means that the company does a high volume of casting talent for their projects and therefore have a dedicated person on board to handle it. A Casting Director is in charge of working with the Directors and other creatives at the company to provide them with talent best suited for roles in their productions. They arrange auditions, are the main source of contact between talent and the company, and also maintain and update the company’s talent roster if they have one.

Different companies have different naming conventions and titles for their employees, below are some alternate titles and similar positions you may come across for Casting Directors.

Alternate & Similar Positions: Head of Casting, Casting Assistant

2. CREATIVE DIRECTOR

Read the rest of the article at The Voice-Over Roadmap…
 

Using “Creative Inelegance” to Soundproof Your Studio

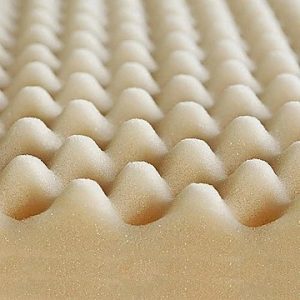
One of my first jobs was running live sound for bands at a local amusement park. From this, I learned a lot about about acoustics and noise. (I also learned a LOT about working with demanding customers.) So when I decided to start doing voiceover seriously and set up a studio in my home, I was certain I could construct a recording environment that would work for VO. I found the quietest place in my house I could find – my closet – and using some heavy duty clamps I picked up, I clamped heavy blankets and comforters around the inside shelves of the closet. If you can afford them, heavy duty quilted moving blankets work really well to absorb the sound. If you can’t afford that, just use comforters, regular blankets, or anything you have on hand, as long as they’re thick and heavy. I also bought some cheap throw rugs and placed them on my concrete floor to help absorb the sound there too.

I originally couldn’t afford a mic stand, but thankfully the USB mic I bought came with a desk stand. So I placed the mic on one of my shelves, then surrounded it with a couple of old pillows I had.

And to my surprise, this set up – as ghetto as it was – worked pretty well. The audio that came out of this rig was remarkably noise free.

Never be afraid of what I like to call “creative inelegance.” Necessity is the mother of invention. No matter how janky it may look, no matter how much your friends may laugh when you tell them, if it sounds good, that’s all that matters.

And why in the Hell are you telling your friends in the first place? Just say that you built a voiceover studio in your place. That’s all they need to know. That’s what you should tell a potential client. Tell them that you’ve custom built your studio with a focus on acoustics. Because that is exactly what you’ve done.

A thing about acoustics

There are two kinds of unwanted sounds you’re going to be dealing with when you work on your studio: noise from the outside, and reflective noise – or “flutter echo” – from the inside.

Read the rest of the article at MarleyAudio.com…


Do I Need A Sound Reflection Filter In My Home Studio?

by Hugh Edwards

The question “Do I need a sound reflection filter in my home studio” is often asked to us in our mentoring area at Gravy For The Brain. This blog will provide a definitive answer to that question!

The first thing we need to do to answer this question, is define what a home recording studio (or any recording studio for that matter) is, how mic’s work, and how it’s all used.

What’s the Point of a Home Recording Studio?

The point of a home recording studio is to provide a stable, repeatable recording environment with no sound ingress and no sound egress, while minimising any unwanted noise/sound reflections going into the microphone.

What does all that mean!? Let’s go through them one by one:

  • A stable and repeatable recording environment: We need to be able to have consistency in the recordings so that we can record a project on day 1, and then for example, do re-records/pickups two weeks later and have the recorded sound match exactly.
  • No sound ingress: We do not want any external sound coming into our recording area – the only thing we should pick up is the mic, not noise from the kitchen, passing cars, nearby school-kids screaming, the cat whining for even more food and so on.
  • No sound egress: Likewise we don’t want our ranting, wailing, screaming, crying or otherwise fantastic voiceover dialogue to bleed into the kitchen and upset the said cat – she’s trying to eat the food you just gave her.
  • No Sound reflections: Sound reflections are the sound recordist’s nemesis. The perfect scenario is that your mic picks up just the vocals that you speak into it. Let’s consider then an extreme example of recording in the kitchen, by the cat; you speak into the mic and the mic picks up your vocals. At the same time your vocals reflect off the wall and into the mic creating a tiny delay, which the mic pics up. At the same time, the vocals reflect of the ceiling which is a different distance to the mic, and is picked up with a different delay. At the same time, your vocals reflect off the cat bowl and then the ceiling and then the wall, and are then picked up by the mic with, again, a different delay. In reality your vocals are bouncing off all walls, ceilings, floors and objects in the room, and all are being picked up by the mic….which sounds like….reverb. This noise in fact, is your room noise. It sounds like a kitchen. The noise of a kitchen sounds pretty awful for recorded vocals and the aim is to remove all sound reflections altogether so that we just get your pure vocal into the mic and that only.

Read the rest of the article at Gravy for the Brain…

7 Places to Learn Audio Editing for Audiobooks

by Karen Commins

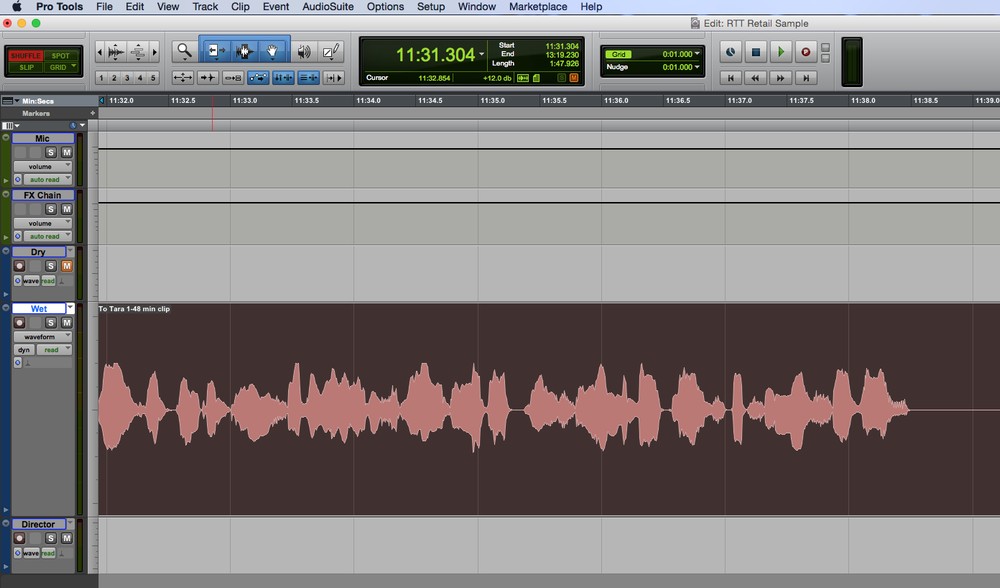
In my last article for narrators, I wrote about 3 ways to become a computer super user. One piece of software that all audiobook narrators need is a Digital Audio Workstation (DAW). Coaches and new narrators often ask me where they can learn how to use their DAW.

The 7 options listed below in no particular order will help you learn the DAW software.

1) The Deyan Institute offers classes in Pro Tools for Production and Pro Tools for Post-Production, as well as an option for 6 hours of Pro Tools instruction.

2) Edge Studio offers webinars in Audition, Audacity, Pro Tools, Reaper, and Twisted Wave.

Read the rest of the article at KarenCommins.com…